
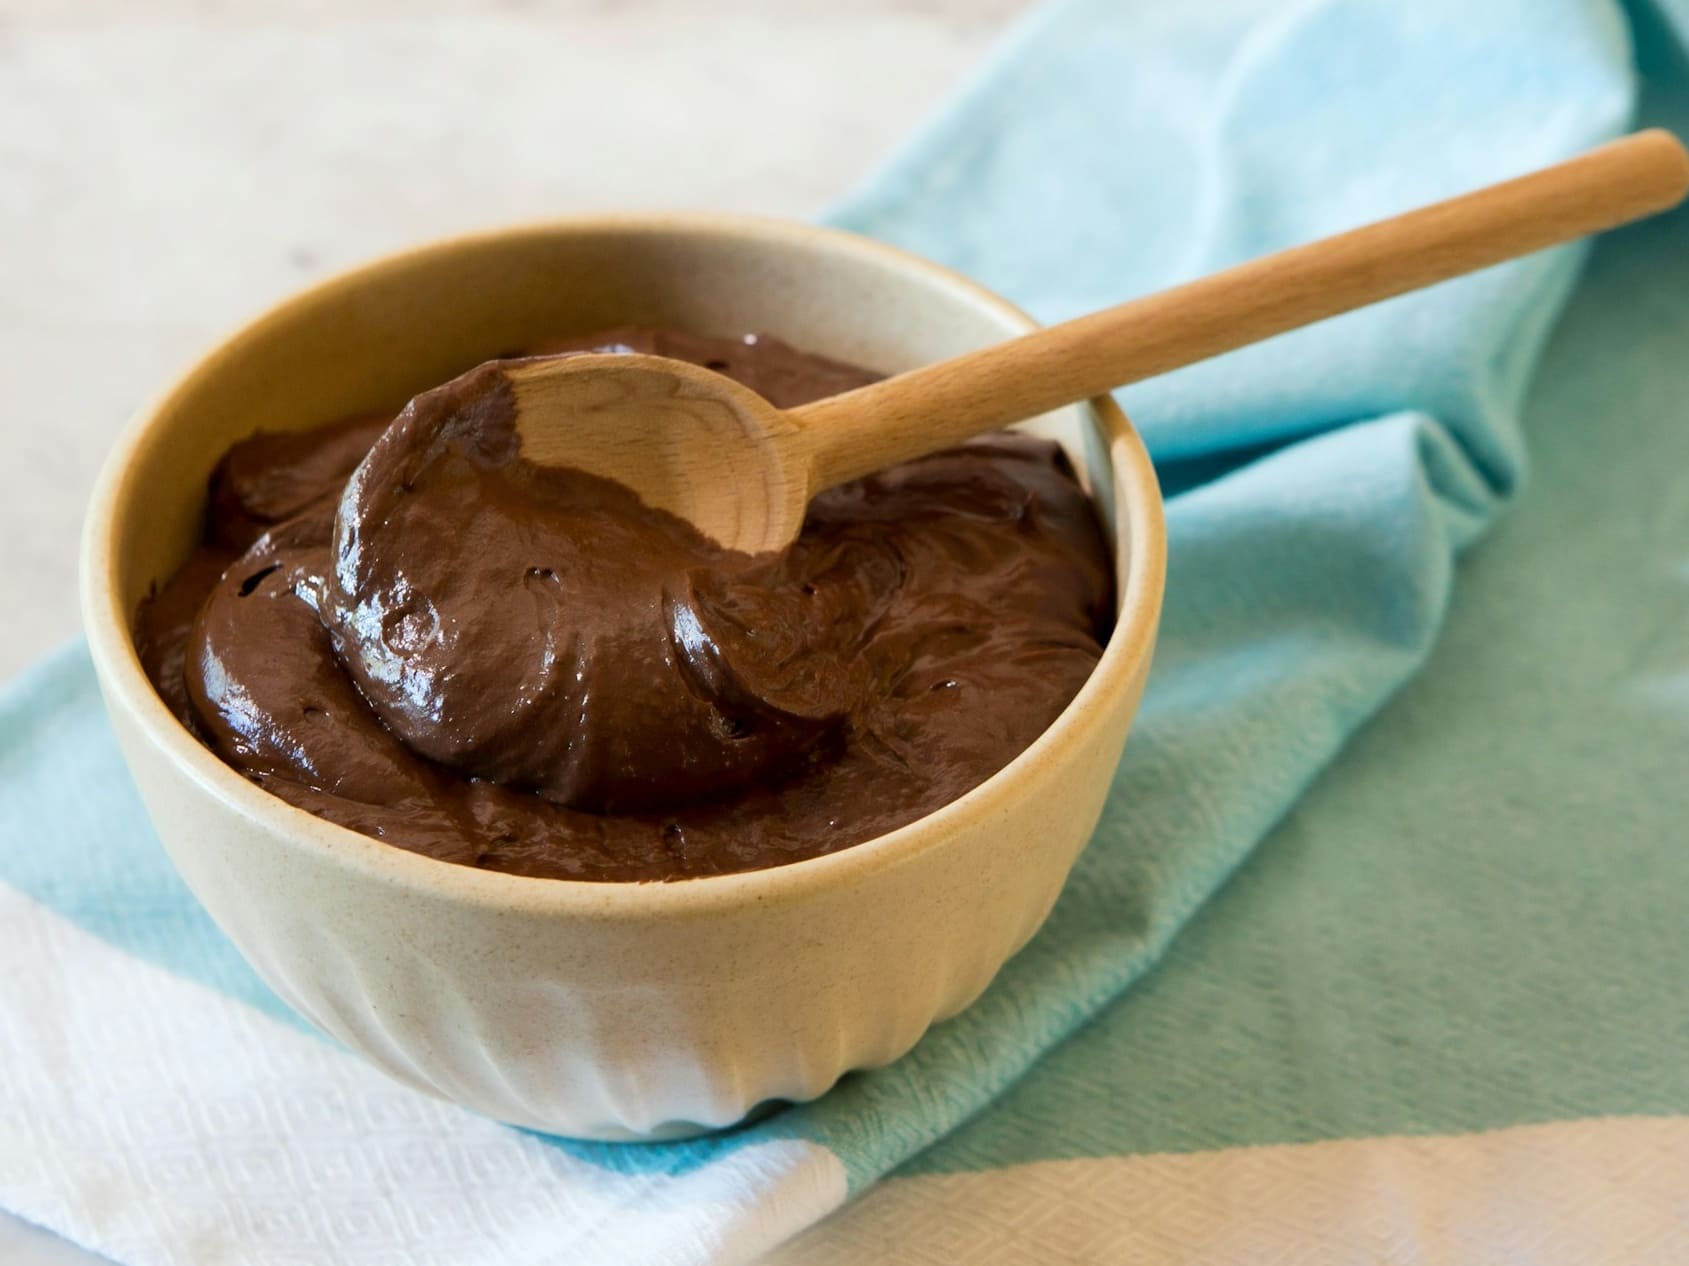
There are desserts you make because they look impressive, and then there are desserts you make because you want something comforting, chocolatey, and satisfying without spending hours in the kitchen. Homemade chocolate pudding belongs firmly in the second category.
With milk, cocoa, chocolate, eggs, and a few pantry staples, you can make a pudding that is noticeably richer and smoother than many boxed alternatives. The best part is that you control the sweetness, chocolate intensity, and texture yourself.
If you have ever ended up with pudding that was too thin, too thick, or full of lumps, don’t worry. A few simple techniques make a major difference. Here’s exactly how you can make a creamy chocolate pudding from scratch and get consistently smooth results.
What Makes Homemade Chocolate Pudding So Creamy?
The texture of chocolate pudding comes from several ingredients working together. Milk provides the liquid base, egg yolks add richness, while cornstarch gives the pudding its characteristic thickness.
Cornstarch thickens when heated because its starch granules absorb liquid and swell. It also continues to set as it cools, which is why your pudding becomes firmer after refrigeration.
Chocolate and butter then contribute richness and a smoother mouthfeel. Vanilla doesn’t make the pudding taste like vanilla; instead, it helps round out the chocolate flavor.
The Role of Cornstarch
Cornstarch is particularly useful because it gives you a thick, spoonable consistency without requiring large quantities of flour. The key is to distribute it evenly before cooking.
Whisking the dry ingredients together first helps prevent pockets of cornstarch from forming lumps.
Why Milk and Chocolate Matter
Whole milk gives you a creamy base without making the pudding excessively heavy. Adding semi-sweet chocolate at the end gives you a deeper chocolate flavor than cocoa powder alone.
For an especially rich result, you can replace a small portion of the milk with heavy cream.
Homemade Chocolate Pudding Ingredients
You don’t need an unusually long shopping list for this recipe. Most of the ingredients are everyday staples.
| Ingredient | Amount | Purpose |
|---|---|---|
| Whole milk | 2 cups | Creates the creamy base |
| Granulated sugar | ½ cup | Adds sweetness |
| Unsweetened cocoa powder | ¼ cup | Provides chocolate flavor |
| Cornstarch | 3 tablespoons | Thickens the pudding |
| Salt | ¼ teaspoon | Balances the sweetness |
| Egg yolks | 2 | Adds richness |
| Vanilla extract | 1 teaspoon | Enhances the chocolate |
| Unsalted butter | 2 tablespoons | Adds richness and shine |
| Semi-sweet chocolate | 2 oz | Intensifies the chocolate flavor |
For the best flavor, choose a cocoa powder and chocolate that you genuinely enjoy eating. You don’t need the most expensive brands, but low-quality chocolate can leave you with a flatter-tasting dessert.
How to Make Creamy Chocolate Pudding From Scratch
Once your ingredients are measured, the cooking process is straightforward. The main thing you need to control is the heat.
Step 1: Whisk the Dry Ingredients
Add the sugar, cocoa powder, cornstarch, and salt to a medium saucepan.
Whisk everything together until the cocoa and cornstarch are evenly distributed.
This small step matters. If you add cornstarch directly to a hot liquid, it can form stubborn lumps before it has a chance to disperse properly.
Step 2: Add the Milk and Egg Yolks
Gradually pour in the milk while whisking continuously. Add the egg yolks and keep whisking until you have a smooth mixture.
Take your time here. You want the dry ingredients completely incorporated before the saucepan goes onto the stove.
Step 3: Cook the Pudding
Place the saucepan over medium heat. Whisk frequently, paying particular attention to the bottom and corners of the pan.
As the mixture heats, it will gradually become thicker. Cornstarch needs sufficient heat to thicken effectively; according to the Exploratorium’s food-science guidance, cornstarch begins thickening at around 95°C (203°F).
Once the pudding becomes noticeably thick and begins gently bubbling, continue cooking briefly while whisking.
Don’t use unnecessarily high heat. A slower, controlled cooking process gives you more time to react before the eggs become overcooked or the mixture scorches.
Step 4: Add the Chocolate, Butter, and Vanilla
Remove the saucepan from the heat.
Add the chopped semi-sweet chocolate, butter, and vanilla extract. Whisk until the chocolate and butter have completely melted and the pudding looks smooth and glossy.
This is where the pudding starts to look and smell like the dessert you were hoping for.
Step 5: Strain for an Extra-Smooth Texture
If you notice small lumps, don’t throw the pudding away.
Pour it through a fine-mesh strainer into a bowl or measuring jug. This catches small pieces of cooked egg or undissolved ingredients and gives you a much smoother final texture.
Step 6: Chill the Homemade Chocolate Pudding
Divide the pudding between individual serving dishes or place it in one larger container.
Cover the surface directly with plastic wrap if you want to minimize the formation of a skin.
Refrigerate until thoroughly chilled and set, usually around two hours.
Remember that the pudding continues to firm as it cools, so don’t judge its final consistency while it’s still hot.
Tips for Making the Best Homemade Chocolate Pudding
If you want consistently creamy results, pay attention to these details:
- Measure your cornstarch accurately. Too little can leave you with a runny pudding, while too much can make it overly firm.
- Whisk before heating. This helps distribute the dry ingredients.
- Control the temperature. Medium heat gives you better control than blasting the mixture over high heat.
- Keep stirring. This helps prevent scorching and lumps.
- Use good chocolate. Chocolate contributes substantially to the finished flavor.
- Don’t skip the salt. A small amount balances the sweetness and makes the chocolate taste more pronounced.
- Let it chill completely. The final texture develops during cooling.
Common Homemade Chocolate Pudding Mistakes
Why Is My Chocolate Pudding Too Thin?
Your pudding may be too thin if it hasn’t cooked long enough for the cornstarch to activate. It may also simply need more time to cool.
If it remains thin after chilling, check your measurements. Too much milk or too little cornstarch can change the consistency considerably.
Why Is My Pudding Lumpy?
Lumps usually come from poorly dispersed cornstarch or eggs that have cooked too quickly.
Whisking the dry ingredients first and gradually incorporating the milk helps. If lumps still appear, strain the finished pudding before chilling it.
Why Did My Pudding Become Too Thick?
Too much cornstarch or excessive cooking can produce a pudding that feels stiff rather than creamy.
If yours is too thick, whisk in a small amount of warm milk until you reach the consistency you want.
Chocolate Pudding Variations
Once you have mastered the basic recipe, you can easily change it.
Dark Chocolate Pudding
Use dark chocolate instead of semi-sweet chocolate for a more intense flavor. If your chocolate is particularly bitter, you can adjust the sugar slightly.
Dairy-Free Chocolate Pudding
You can experiment with plant-based milk instead of whole milk. Keep in mind that different varieties have different amounts of fat and solids, so the final texture may change.
Extra-Rich Chocolate Pudding
Replace part of the milk with heavy cream for a richer dessert. You can also increase the amount of chocolate if you want a stronger chocolate profile.
Chocolate Peanut Butter Pudding
Stir a spoonful of smooth peanut butter into the hot pudding after removing it from the heat. Mix thoroughly until incorporated.
Mint Chocolate Pudding
A small amount of peppermint extract gives you a classic mint-chocolate combination. Start with a tiny amount because peppermint can quickly overpower the chocolate.
How to Serve Homemade Chocolate Pudding
You can serve your pudding exactly as it is, but toppings make it even more appealing.
Try:
- Whipped cream
- Chocolate shavings
- Fresh strawberries
- Raspberries
- Chopped nuts
- Caramel sauce
- Mini chocolate chips
- A light dusting of cocoa powder
For a dinner party, serve the pudding in small glass dessert cups and finish each portion with whipped cream and chocolate shavings.
How to Store Chocolate Pudding
Keep homemade chocolate pudding refrigerated in a covered container.
Because this recipe contains milk and egg yolks, treat it as a perishable dessert. USDA guidance recommends keeping refrigerated foods at 40°F (4.4°C) or below and using refrigerated leftovers within three to four days.
Don’t leave the pudding sitting at room temperature for extended periods. USDA guidance advises refrigerating perishable foods within two hours, or within one hour when the surrounding temperature is above 90°F (32°C).
Can You Freeze Chocolate Pudding?
Freezing isn’t usually the best choice if you want the original silky texture. Thawing can change the structure of a starch-thickened pudding and make it less smooth.
For the best results, make it a day or two ahead and keep it refrigerated instead.
Frequently Asked Questions About Homemade Chocolate Pudding
Can I Make Homemade Chocolate Pudding Without Eggs?
Yes. You can make a pudding using milk, cocoa, sugar, and cornstarch as the primary thickening ingredients. The result will still be creamy, although it may lack some of the richness that egg yolks provide.
Can I Make Homemade Chocolate Pudding Without Cornstarch?
Yes. Other thickeners can be used, but the quantity and cooking method will vary. Flour, for example, generally requires a different ratio and produces a somewhat different texture.
How Do You Make Homemade Chocolate Pudding Thick and Creamy?
Use the correct amount of cornstarch, cook the mixture sufficiently, whisk while it heats, and allow the pudding to chill completely. Remember that cornstarch-based desserts continue to set as they cool.
Is Homemade Chocolate Pudding Better Than Instant Pudding?
It depends on what you value. Instant pudding wins for speed and convenience, while homemade pudding gives you greater control over the ingredients, sweetness, chocolate flavor, and texture.
How Long Does Homemade Chocolate Pudding Take to Set?
The cooking itself takes roughly 10 to 15 minutes, but you should allow about two hours for the pudding to chill and fully develop its texture.
Can I Make Homemade Chocolate Pudding Ahead of Time?
Absolutely. Making it ahead can actually make serving easier because the pudding needs time to cool anyway. Prepare it in advance, cover it, refrigerate it, and add your toppings just before serving.
Homemade Chocolate Pudding Recipe Card
Recipe Information
| Detail | Information |
|---|---|
| Prep time | 10 minutes |
| Cook time | 10–15 minutes |
| Chill time | About 2 hours |
| Total time | About 2 hours 25 minutes |
| Servings | 4–6 |
| Difficulty | Easy |
Instructions
- Whisk sugar, cocoa powder, cornstarch, and salt in a saucepan.
- Gradually whisk in milk and egg yolks.
- Cook over medium heat while whisking until thick and gently bubbling.
- Remove from heat.
- Whisk in chocolate, butter, and vanilla.
- Strain if necessary for an ultra-smooth texture.
- Transfer to serving dishes and refrigerate until chilled.
- Add your favorite toppings and serve.
Conclusion: Your New Favorite Chocolate Dessert
Making homemade chocolate pudding from scratch is much easier than it might seem. You don’t need specialized equipment or complicated pastry techniques. What matters most is using accurate measurements, controlling the heat, whisking properly, and giving the pudding enough time to chill.
Once you’ve made the basic version, you can make it your own with dark chocolate, peanut butter, mint, berries, whipped cream, or whatever toppings you enjoy.
So skip the boxed mix the next time you’re craving something chocolatey. Make this recipe, chill a few servings, and let us know which topping you chose.